x
x
x
x
|
Proud to be a child of God, a faithful son (I hope lol) a trying to be hardworking student, a part-time worker, a nerf/milsim enthusiast, a crafting and music lover and an awesome friend. to you :) Hope you have an enjoyable time reading about my life, as much as I have fun living it! |
Minimalist
I am a university student who loves chocolate! Coffee is my best buddy when it comes to taking on my finals. I have a tendency to want to try and do so many different things at once and as a result, I've found my hobbies to be as such!
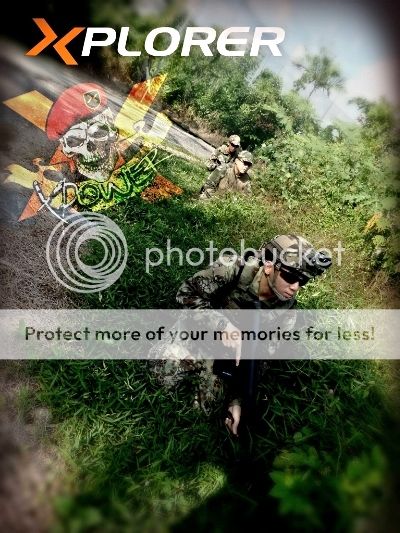
Nerfing is one of them, but aside from that, I also love arts and craft. I have my own startup, Thumbforlego at: where I sell my works! 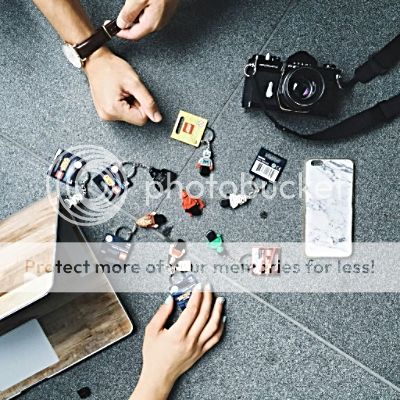
I love to do all sorts of crafting, so you will see me uploading posts of my leathercrafts, thumbdrives, replica guns, nerf gun modifications and gundam models! I'm fortunate enough to be blessed by really supportive parents and given the chance to explore many, many parts of the world and try out a plethora of activities. This is also how I discovered my love for film photography, videography and piano. 
The film photo above is unedited! My family loves cold countries xD. We managed to catch the northern lights twice! 

I've also gotten the chance to experience many of nature's wonders 
And my most freezing experience to date: riding a husky ski sled into the sunset (It was -38 to -40 degrees celsius and the huskies were pretty fast.) 
Leave a message after the tone
Why 36000feetabove? This is the altitude that commercial planes cruise at and I have always loved the view up in the sky, being amongst the sea of clouds. :) Personally, my favourite favourite food has got to be airplane buns! Does anyone else feel the same way?! With a slice of butter and looking out of the window, I have yet to find an experience that can beat that. 
After tomorrow, before today
Recent posts:
Monthly 411:
Tuesday, June 10, 2014
HAHA another blog post! this time, i’m using my macbook on the bus on the way home hehe :P it’s kinda squeeze in the bus….but i think i am getting eyes from around me, with others thinking that i am a studious student lmao. wish this bus was a double decker. But ANYWAY, i made my third LEGO usb keychain!! turned out pretty nice although there are crappy parts, but here is how i did mine, will be sharing my method here. :) I've been making these for some time, just that i've never documented down the process as they were meant for gifts. Whereas the one that i just completed last night was meant for myself!
I chose the LEGO keychain instead of a simple mini fig due to a few reasons. Firstly, the LEGO keychain already comes with an extremely secure keychain, that has people talking online about how to remove it. So THAT’S secure enough. LOL the people boarding are simply avoiding the seat next to me, although i stacked up everything onto my legs. The main issue/worry that i had with the keychains was how long exactly was the screw going to extend into the lego min fig. because this has a very very big part to play, when it come to the inserting of the USB into the body. Although being pricey, the lego keychains also means that i wouldn't have to worry about stringing my way. All i needed to do was pretty minimal, Dislodging/destroying it’s lower half, gutting out the insides and gluing in a new thumb drive that is mini enough to be slotted in. That was initially hard to find as most thumb drives are bigger than the torso of the mini fig. But after combing through the internet, i’ve finally found this thumb drive that works best, because of how compact it came in! :)
Firstly, you'll need some tools at hand aye? You'll need... 1. A LEGO keychain 2. One SanDisk thumbdrive, or any thumbdrive small enough. (keep it sealed first) 3. Marking knife or a blade that is sharp enough to cut through plastic, NOT penknives. 4. Plastic nipper. a plier should do the job too, one with thin tips. 5. Plastic spoon to hold the glue 6. Quick drying Epoxy glue. Or any glue that is strong enough. please no UHU super glue. 7. Chopsticks. Because i'm budget. There's an overall photo at the end so anything unsure, head to the bottom! A word of precaution, you'll be working with extremely sharp tools, frankly speaking i love the marking knife so much because it has unbeatable sharpness. So do exercise caution especially when you are not familiar with the tool. NEVER hold onto the piece and cut with the other hand because if you slip....it'll slice right into your finger bone. Happened to me, yup. Always cut away from you. i've highlighted some IMPORTANT parts for you to note so you wont miss anything out on those steps! :D Firstly, begin to pry out the legs in an outward manner sideways. This should free up the legs pretty good :) You should be left with just a thin piece of round plastic in the middle. Then, come in with your plastic nippers and beginning nipping off those plastic leg pieces, or whatever you're left with. For this part, you got to be really careful not to snip off that portion of torso. If you notice, you can see how i'm sniping off the parts and leaving the torso clean. Cleaning up of the torso area comes later. It is important to keep this border as clean as possible as it will be visible for the end product. As you continue to snip or occasionally stabbing it with the marking knife, you should end up with a product like the photo below. All you should have are the stump pieces. These parts are firmly stuck to the torso also because of the glue that LEGO applied previously, locking the legs to the main body. Come in with your marking knife. This is the part that the marking knife will prove to be godly. lolol. because it is thin and VERY VERY sharp, it will make pretty nice cuts at the sides of the stump. Cut at the four points per stump that is in contact with the torso. This should allow you to pry out the stumps with your pliers. BECAREFUL though, that if you jab it inaccurately or crank it just a little too savagely, you'll create this whitish marking on the LEGO torso. This CANNOT be removed at all. i repeat, CANNOT be removed. So be very careful not to screw up the torso that you've painstakingly isolated! The whitish portion is called a plastic fracture, whereby the cut on the plastic.was not made clean and fast enough, causing the plastic to "fracture". Try to keep such stuffs to the minimal if not your end product will look shabby. After gorging out the insides, it SHOULD look something like this in the photo above, with the middle posts being trimmed down IMPORTANT by around half of the torso. For this step, you should open up your thumbdrive and beginning shaving down the sides of it. you can do so by using the marking knife, keep the part that you want to shave off 90 degrees from the cutting board, angle the blade and shave off layer by layer. Do not be ambitious and slice off a large portion as it becomes pretty stiff! you wont want to risk losing control and slicing your fingers eh! simply slide it down and let the blade meet the cutting board. Repeat this process until you get a nifty shaved down thumbdrive that will fit nicely into the torso! you'll need to shave up the four sides, but don't shave off too much. You can do so by test fitting it from time to time so you'll know which sides to shave. After testing it out and ensuring it fits, make sure that you're gonna be inserting the thumbdrive the right way. What do you mean by right way? when you insert the thumbdrive into the computer/laptop, you will NOT want the minifig to be facing the other direction huh! In the case of the thumbdrive that i use, the capacity would be the front, which is a neat 64GB!! :D that's like a quarter the size of my macbook pro disk space! What i really like about it is that you can easily see the capacity in front, and the finished product is pretty neat! the FINAL MOST IMPORTANT, MOST CRUCIAL step, is to make sure that you have mixed 1 part each of the two part epoxy that you've gotten hands on. Of course you wouldnt need too much, i tend to do about half a thumb's worth or 20cents worth for each part, making it a total of 40CENTS!! just kidding. But yeah, two, 20cent worth of each part. Mix it evenly, dont mix it too thoroughly especially if you're using the quick dry ones. i reccomend the quick dry ones because they set easily, allowing you to make minute adjustments on the way as you slot in that thumbdrive. Once you're done mixing, straight away apply it around the thumbdrive. Hold it there for about 2minutes plus? and your desired position would be fixed. if it gets messy, use a cloth or something to remove the excess. Tissue paper isnt really recommended. Come to worst, let it settle a bit before scratching the excess glue on the torso using your fingernails. Painfully slow process. IMPORTANT Dont forget to fix back the arms if you took them out too! Personally i like to let the glue cure for an exceptionally long time, usually through the night. VERY VERY IMPORTANT Also, make sure that the arms are not glued down. Ensure by twisting the arms from time to time as the glue cures. if you do not ensure this and allow the epoxy to cure and fix that arm, you're never going to fit that thumbdrive into your computer because the arms jut out. When it's all done curing, you can slot the cover that the thumbdrive came with and pray that that cover doesn't go missing any time soon! As i am familiar with the using of a marking knife, i cleaned out the bottom border of the torso area so that it'll seem a whole lot cleaner. This happened before gluing. Do not try to do this if you aren't confident in doing so! because LEGO has a very hard plastic, making it easy to fracture. and if you slice it unevenly, that process will continue till you've shaven off half a torso just to get an even cut all around. pretty sure of that. At the bottom, is the overview of all the tools you'll need to make an identical LEGO minifig/USB keychain of mine! Hope that it helps! :) |
