x
x
x
x
|
Proud to be a child of God, a faithful son (I hope lol) a trying to be hardworking student, a part-time worker, a nerf/milsim enthusiast, a crafting and music lover and an awesome friend. to you :) Hope you have an enjoyable time reading about my life, as much as I have fun living it! |
Minimalist
I am a university student who loves chocolate! Coffee is my best buddy when it comes to taking on my finals. I have a tendency to want to try and do so many different things at once and as a result, I've found my hobbies to be as such!
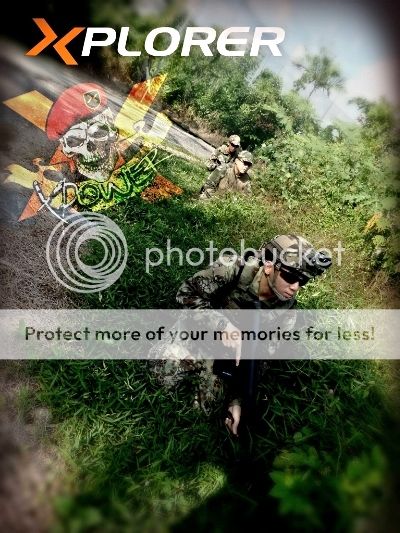
Nerfing is one of them, but aside from that, I also love arts and craft. I have my own startup, Thumbforlego at: where I sell my works! 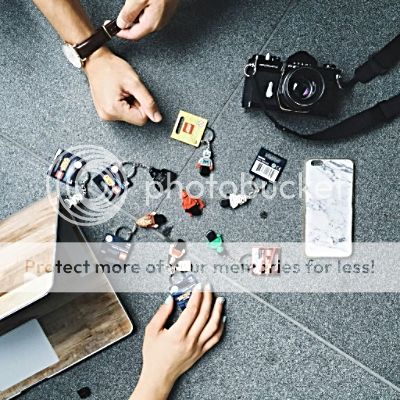
I love to do all sorts of crafting, so you will see me uploading posts of my leathercrafts, thumbdrives, replica guns, nerf gun modifications and gundam models! I'm fortunate enough to be blessed by really supportive parents and given the chance to explore many, many parts of the world and try out a plethora of activities. This is also how I discovered my love for film photography, videography and piano. 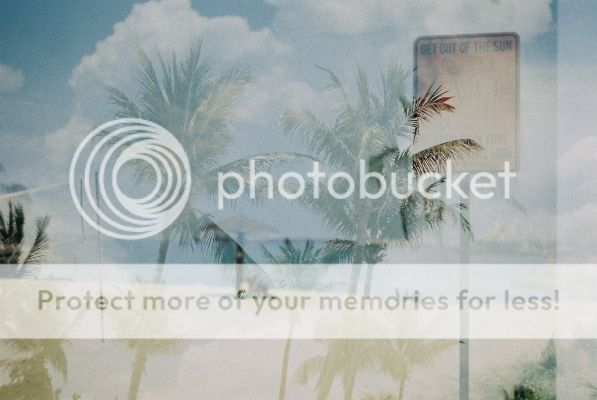
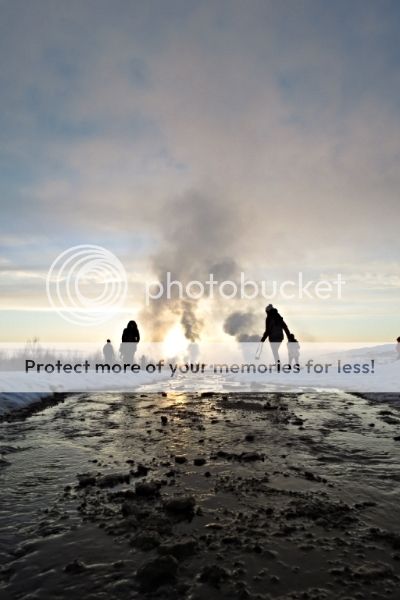
The film photo above is unedited! My family loves cold countries xD. We managed to catch the northern lights twice! 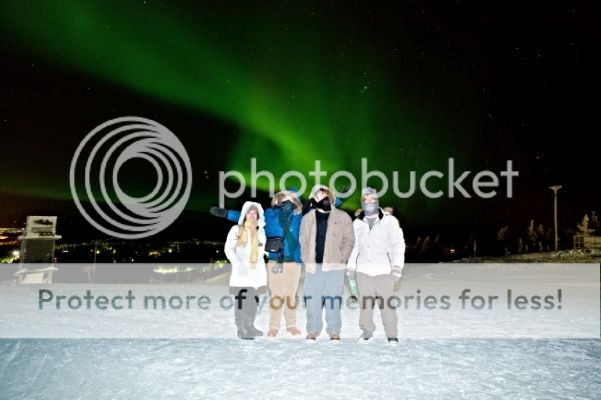

I've also gotten the chance to experience many of nature's wonders 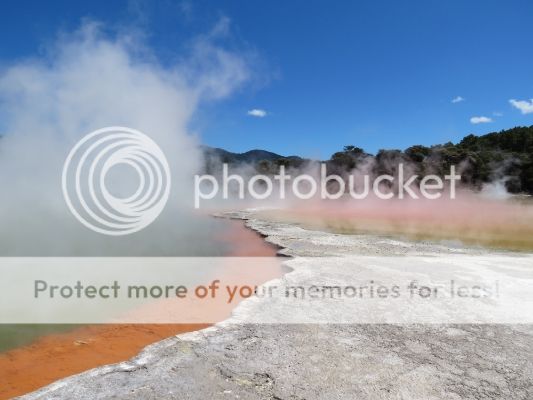
And my most freezing experience to date: riding a husky ski sled into the sunset (It was -38 to -40 degrees celsius and the huskies were pretty fast.) 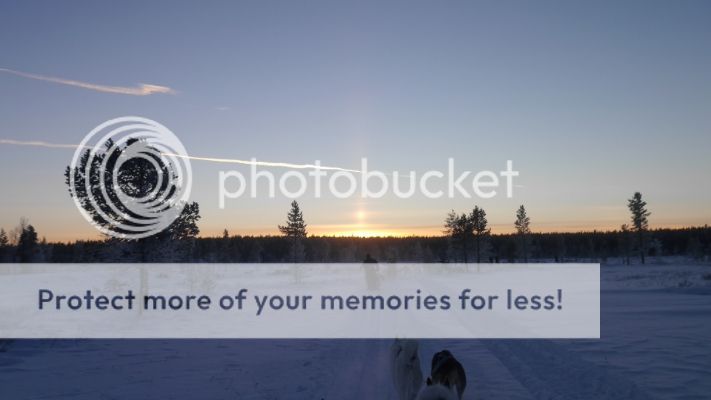
Leave a message after the tone
Why 36000feetabove? This is the altitude that commercial planes cruise at and I have always loved the view up in the sky, being amongst the sea of clouds. :) Personally, my favourite favourite food has got to be airplane buns! Does anyone else feel the same way?! With a slice of butter and looking out of the window, I have yet to find an experience that can beat that. 
After tomorrow, before today
Recent posts:
Monthly 411:
Saturday, June 21, 2014
VERY LENGTHY POST
This is a detailed guide on my nerf, Xplorer Longshot.
(Not finalised, went through some more changes.)
Fleur Blanc is the name of my nerf blaster! Well i’ve been pretty into Xplorer and just what is that! its a hobby group with us nerfers using highly modified nerf blasters to compete! it sure is an expensive hobby, but i thoroughly enjoy myself man :) at first i was using the retailiator, which is this!
I’ve always wanted the longshot. The longshot has always been a legend in the nerving community and it is no longer being produced. at least not for now! although rumour is pretty strong that there is a target exclusive i believe? for the zombie strike line of nerf. Luckily, i managed to get my hands on one! Though second hand for obvious reasons, i gave it a good makeover alright! Also, i do have a heavily modified longshot at home, but it is made to shoot stefans which are personalised darts. While my new Xplorer longshot is going to be shooting a more universal stefan! (lol the irony) So…. this blog post is just to show ya how i “refurbished” this longshot! I’ve always had lots of nerf blasters and modified them, instead of getting just one and focusing my resources on one. so this one blaster that i have will definitely receive a lot more attention than the rest! although frankly speaking i really miss modifying other blasters so i am gonna do just about that soon! :P
Before i actually started on any real work, of course i had to do some planning eh! lots of planning like which portions should i paint over, which portions to do which colour. i wanted a blue! that was a pretty much confirmed thing, because my previous blasters have always had that traditional red/matt black look. So this time, i went with something different! I spent about 2 weeks beforehand, researching on the best colour combination before settling for one! I looked through all sorts of pain jobs and tried to play around with the colours in my head :) if there is a particular colour that i want, i’ll definitely get that colour!
Rationale: After using the retailiator, i had a rough idea on how my blaster performance had to be like to suit my style and also i needed one to be battle worthy, not some "display on the shelf" sort of blaster that had some insanely strong power or what. I needed something practical.
Colour:
Main body dark blue and matt black with grey accenting. Mods: Modifying the blaster was made so much easier as Heng, the person who owns xplorer, helped me out with the final tweaking of the blaster! :) really thankful that he is willing to help me out with the calibration and all! Good thing is that then, i wouldnt have to be spending much effort on the modification of this blaster, unlike previous versions! and to those who knows this term, my previous longshot is angel breeched! most of my nerf blasters, i would have to modify the internals but not for this! :) The following pictures are the internals of the blaster! and thats the main configuration and the power behind this blaster! :) this is how it looks like before... and after! I noticed that the shell was kinda dirty, and the main thing i had to do was to give it an awesome paintjob! Also, my metal barrel was later on switched to a slightly longer one that sticks out of the orange muzzle so as to accommodate the xmuzzle. :) After giving it a good scrub with soap and brush, and drying it all up, everything looked as good as brand new! hehe sorry i had to paint over the rarer blue longshot instead of a yellow one :P and now...to get down to the paintjob! the coats of paint sequence are as follows, only spray paint was used. prior to the actual paintjob, i tested out the various colour combinations that I've thought of on plastic spoons. I especially love to use this step just to be safe that the combinations look good. On the top right, you can see how nice the blue turned out huh! the rest were just tests.. played around with the 5 colours as shown above. I tested out the paints in... #1.different humidity levels #2 different finishing coats (gloss/matt) #3 different basecoats This allowed me to achieve my intended colour, and i deduced that humid weather would be the best weather for me to spray paint in! For starters...humid weathers may get a bit dangerous as at times it might cause the whitish powdery coat when drying if the layer of paint is too thick at one go. the steps are as follows! :D
After all is done, then i had the joy of finally peeling off the layers and seeing all my hardwork! this process of paintings took up over 2 weeks of weekends to get em done! spray painting in the night or just-rained weather is the best, when the air is still moist. Here are some of the photos of the process.
I did a marking of "22" at the left side as it was one of my 22nd birthday presents from my parents, so during the spraying of gunship grey layers, thats when i painted a portion white and came in with the stickers to leave the white paint there as i later sprayed over with the matt black layer. This way when i peel it off later on, i'll get a white "22" with black background! Went on to spray the buttstock.. Good to spray in the night :) Okay see those yellow "tags" i have? they simply indicate the portions of black that i'll need to go over to make those parts thicker. this is so as to prevent any of the other colours being visible in the black region/ The matt black is supposed to fully cover up the paint marks. I also used the felt stickers for this portion, before spray painting them over with gunship grey too! and to spray over a nice layer of metal... kinda heart pain but oh well! :P Wow the image seems a little blurred, but that's the almost finished product!! what happens next is that i have to come and clean up those letters and make sure every one can be easily seen too :) tape becomes our best friend for the next half an hour. I use painter's tape to remove any excess as they're pretty clean! although my fingernails have proven to be more worthy than the tape, carefully scraping off the excess. THIS is the finished product! nahhhhh not quite yet! what happens is that i love to use a wet cloth and keep rubbing the entire piece so as to ensure that the paintjob is nice and smooth! Also, as that '22' looked too clean, i used painter's tape to stick some black dust remains from the matt black and dab the number, leaving it with a weathered look when done! The wet cloth helps to remove any of those rough surfaces you might get if your paint does not dry properly. and this is when you are truly....DONE!!!!! below are the finishing images of it, and i also did further spray paint the orange parts and add on the muzzle :) Top is obviously the fleur blanc, the bottom one is my old longshot, the angel breeched longshot, with a brass barrel and aluminium boltsled! As you can see, the blue has become a whole lot different and less glossy as compared to the one that was masked at first! What makes my paintjob so special? IT'S THISSSS when my blaster is brought into a slightly darker environment, notice how the blue begins to fade into a darker shade?? also, you can see the vastly different aesthetics huh! Into an even darker environment, it blends into black! :D HAHA I JUST SO LOVE HOW THIS PAINTJOB TURNED OUT. It's like a self camouflaging paintjob dont ya think!! Finally those weekends of painting and masking finally paid off!! But i am not done yet, it further underwent adjustments later on! :) COMMERCIAL BREAK I re barrelled and modified a non-nerf spongebob blaster to shoot nerf darts at a longer range and gave it to charlene! :P It was shooting some fatty darts at first...took me bout an hour to mod this! HERE IS THE COMPLETED BLASTER OF MINE,
Thank you sooooo much for reading to the end of this very very very long post!!! hope it was educational for the paintjob :) the internal parts are all precision engineered by Xplorer's factory machines, according to Heng's designs! |
