wellll no-so-recently, i ended my prelims! it was pretty hellish...but im glad its over :) now there is A levels T.T but anyway! i decided to take one day off, to really just slack! no work, no studies, no touching of notes, just a nice long break. I needed a recharge. Eating batteries didnt work~neither did sleep, nor coffee. Gaming got me more stressed up instead as a began to 'QQ' over laggers in the game. so, i decided to do some plastic modelling!
there were 3 choices:
1. Do a gundam model
2. Macross model
3. A replica gun
Options 1 and 2 Takes FOREVER to complete! i went ahead with option 3 in the end as both 1 and 2 were just not feasible for now. for a few reasons. lack of cash, lack of time. Both of the first two options required LOTS of time as they required really good precision. this isnt something that i have to spare. plus all the different paints that will cost me a bomb. each paint, excluding the thinner that is needed to mix with it, is about $7-8 for a small bottle. a replica gun just needs spray paint. a huge spray paint for acrylics barely costs $6. and a replica gun has way less colour variants to buy! and it dries a lot faster! i dont use airbrush for models, rather, i prefer brushes. the bristle way~ so cost wise, i went ahead with option 3. both gundam and macross models will eat up close to one week of my time, if i want to do a really perfected model with all details as i tend to melt different parts together, creating a unique model. so...due to time constraints, i did a gun replica.
lemme show ya the steps that i did to make a HK416! actually, i wanted to just do a simple m4. however, the hk416 remains as my favourite gun! so...i decided to give it some minor tweaks. i shall go step by step and bring you through what i did. :)
First up was removing those toy-ish red panels :) i bought a toy m4 alright! you know like those really kiddy ones that have vibrations and lights and sounds~ the one that i bought is very accurate, from black tactical. its at Funan IT Mall btw.
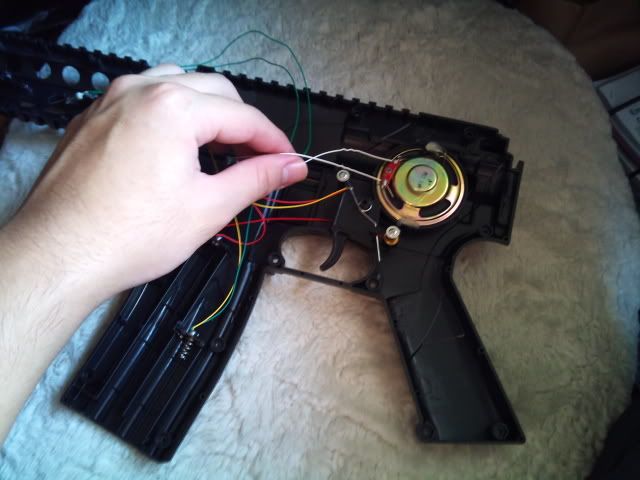
The next thing that i did was to cut off all those sickening wires! i wanted to have just 1 lightbulb for the gun, keep the vibrations, throw out the sounds. ended up, i think i cut the wrong wire somewhere..haha! epic fail! now there is no light, no vibration, no sound. so i threw out everything and put it in this recycling bin. might be of some use to me in the future.
which wire to cut! the red one! no the blue one! no the white one!
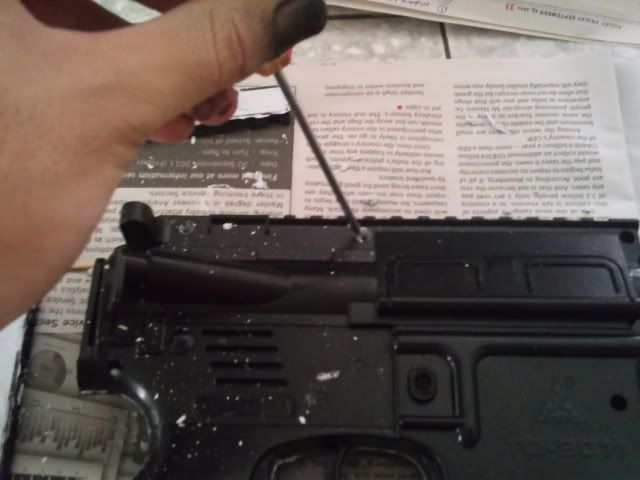
Here is the cutting. What pissed me off was that i lost my saw! like whatthehell! of all things the saw has to go missing?! so i resorted to using a plastic cutter to cut off those m4 'iron sights' at the front. Its the usual triangle thing in front of the gun. cant miss it. i chopped it off, and modelled it after a HK416 barrel.
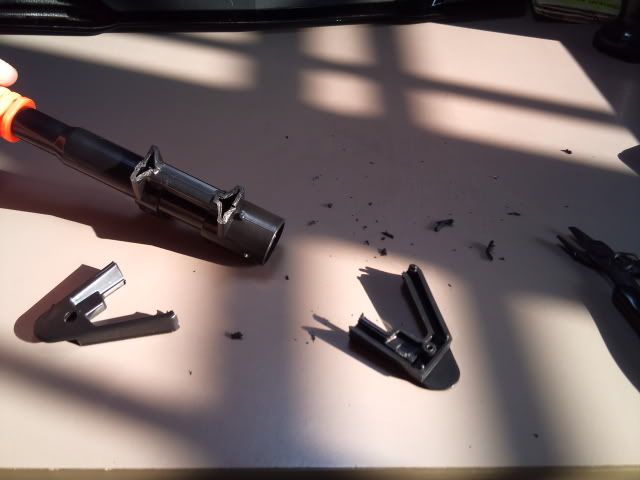
used the plastic cutter first..
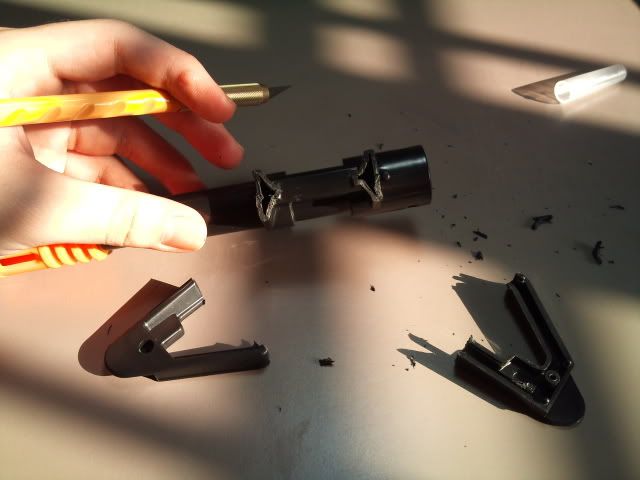
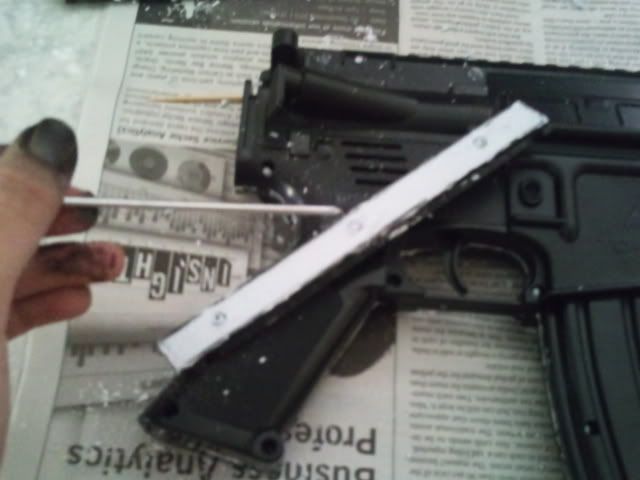
then the marking knife~
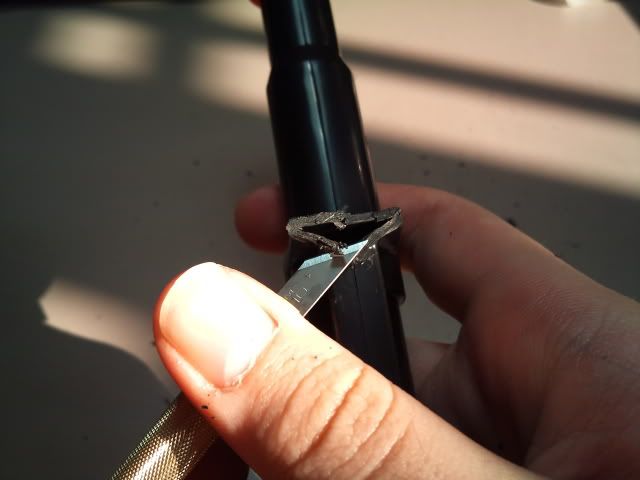
it is WAYYY better to use this than a penknife. even my best penknife is blunt compared to this marking knife. nothing beats the sharpness of this. but still, be extra careful :) i stabbed all the way into my finger before with this. no kidding, not fun!
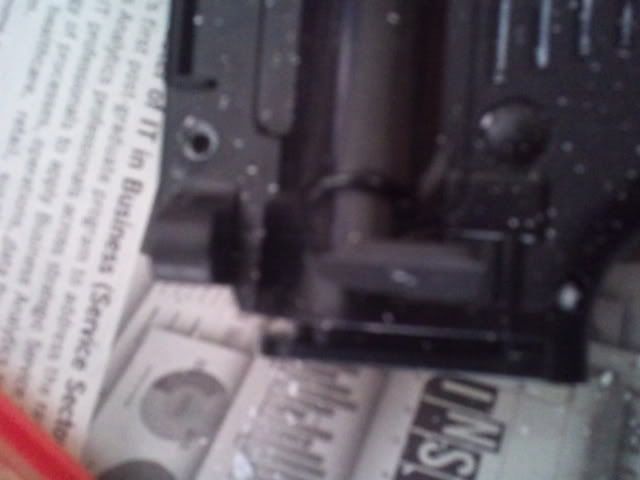
In order to make the gun look more realistic, i placed a 'barrel' inside. i used PETG tubing to do it, it wasnt that cheap but the barrel size is about there :) pretty accurate. Accuracy to the actual gun cannot be foregone in such a project.Whats a replica without accuracy aye?

speaking of which, its time for me to introduce to you the wall putty! its a semi-liquid, plasticine like substance to fill up gaps in walls, (i just used it to repair my kitchen wall lolol) Its heavy! and easy to apply and clean off, so i use it as weights :)
toy guns are very light! reason being they are for kids, and made of plastic, hollow in the insides. Thats where the putty goes :)
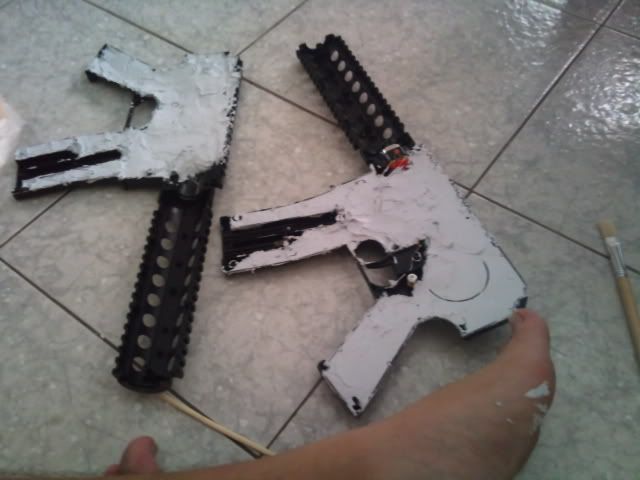
thats how its like when i fill it up with putty! this is the most sickening process. not only is it messy, i have to keep ensuring that i shove in as much as possible. Its thick, paste-like, so air trapped inside slabs of this is a pain in the ass. oops thats my foot.
i estimated the weight of the original toy gun to be about 0.5kg. extremely light. weight to hit, 2.950kg. long way to go!

as such, even those picatinny rails are not left out, everything is filled with wall putty. It also helps to strengthen the barrel area, because there is no wall putty put there, the weight of the gun can cause really bad strains on the plastic there~causing it to break more easily. so since some of the rails go around the front grip, it helps to provide some sturdiness to the weakest part of the gun. (even the butt is filled with putty) every part of the gun is filled until it sounds solid!
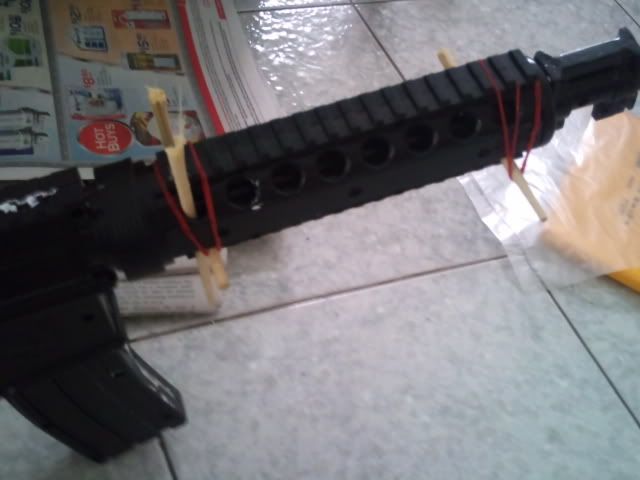
all thanks to my stupidity and lack of time, i had to use this method to keep the 'barrel' inside from rolling about xD notice all the putty eh? thats what happens when you squeeze the frames together and screw em back. the putty is filled into the screw holes too, causing the screws to be glued down when the putty is dry.
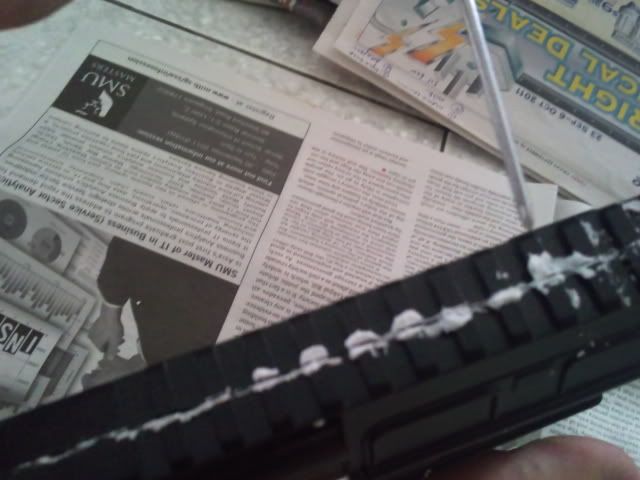
ah here is a clearer shot. now, is the messiest part :) getting rid of those excess putty. By now, the putty would have dried, since they are all small bits sticking out. so, i use a screwdriver and scratch off everything! its really fast and easy, big mess :)
oh yeah thats the screw holes thing. my fingers from here on became blackish as i have already started painting on some parts! wanted to save as much time as possible. :)
had to do the same thing for the rails...zzz...
some random pic :)
voila! now its done! oh yeah i guess i didnt add in one part..its the one where i used the brush to brush away all the fragments of the putty, because when you scratch it all off, its like powder? sticks a lil to the replica, so i had to brush em all off. i brushed the entire gun so that later the paint will stick on better. you wont want parts of the paint falling off later on. when you paint over the powder, what happens is in future when the powder falls off, you get some weird polka dot rubbish. moreover, paint is more easily scratched off and the body of the gun becomes uneven. that aint good. now, its all ready to be painted!
before jumping straight into it, masking tape the parts that are going to be of a different colour. brown/metallic black/matt black.
After a whole big load of spraying several coats...this is what you get!
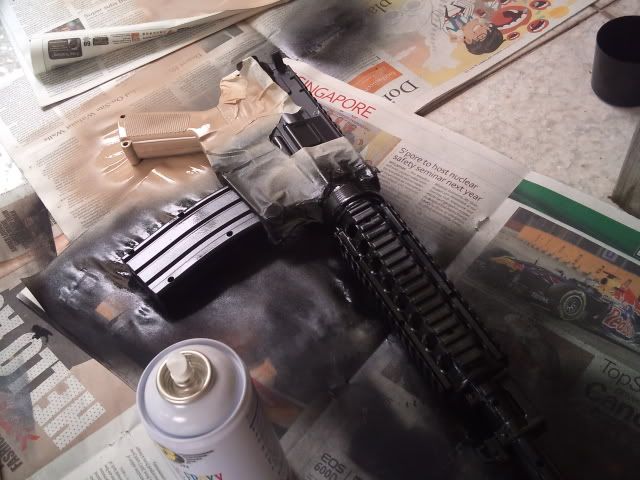
okay here is a clearer pic..
i painted the metallic black and brown parts. Metallic black for all metalic part of the gun. eg: barrel, mag... brown is for front grip and the usual trigger grip as well as butt.
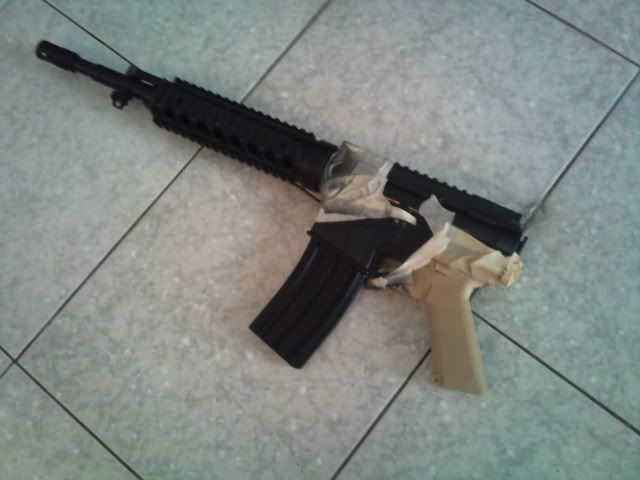
peel the masking tape off and do the opposite! cover the painted areas, then spray the matt black :)
i use masking tape because it is big and it provides just enough adhesion to the painted areas. problem with lousy tapes or transparent scotch tapes is that they leave a sticky mark on the painted areas. once, i used such strong tape that it ripped off the paint! so my advice, stick to masking tape. or if you have the budget, use painter's tape. its a blue in colour tape btw. overkill much.
tadaaaa!! thats how its like after all the coats have been done, including the lacquer coating to protect the paint :) i chose and was adviced to use matt lacquer instead as the colour comes out wayyyy better! dont buy glossy lacquer! and DONT touch the paint job until the lacquer is dry, if not you will smudge the paint too! end up you have to repaint. thats what happened to my previous replica. itchy hand much~
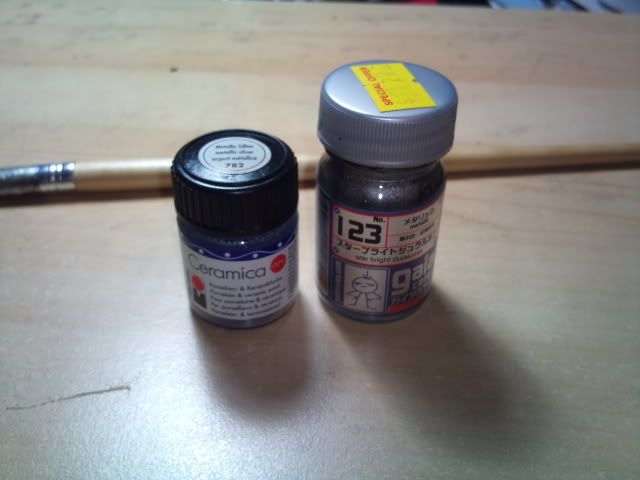
now on to the weathering effect! i did this through the dry brushing technique, all the stuff that are used are shown in the photo below. thats all you need.
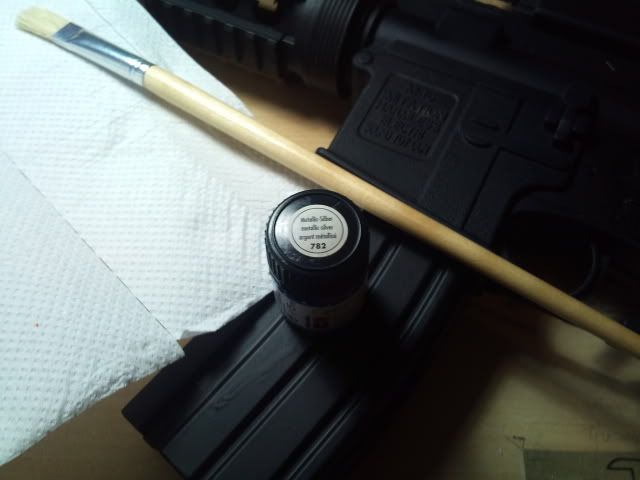
dont know how to do it, youtube weathering, modelling. without the modelling keyword, youtube gives you the literal geographical weathering instead :)
i tried out 2 paints. left one is a blue-based paint for pottery, bought from Arts Friend. Right side is the one from Mr hobby, for gundam models, black-based. mix both thoroughly SEPARATELY, let the silver spread out. i think both were oil based..i think.
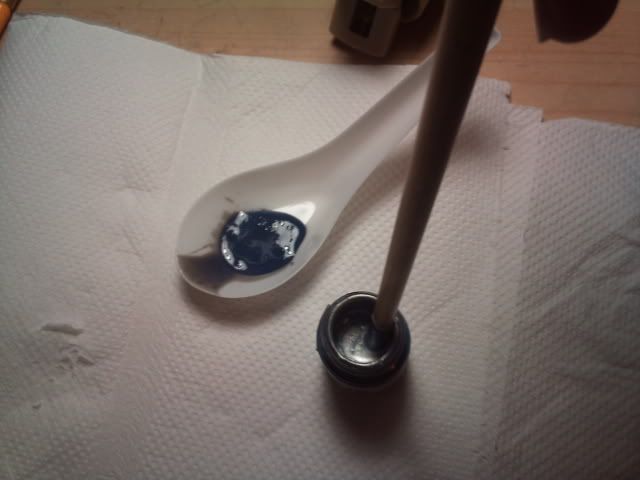
let me show you the different effect that both has.
this is the porcelain one, pretty bad. especially because of the tinch of blue that it gives. which gun on earth has blue on it?!
this is the Mr hobby paint. WAYYY better eh! now this looks more like it.
my verdict? go with the right.
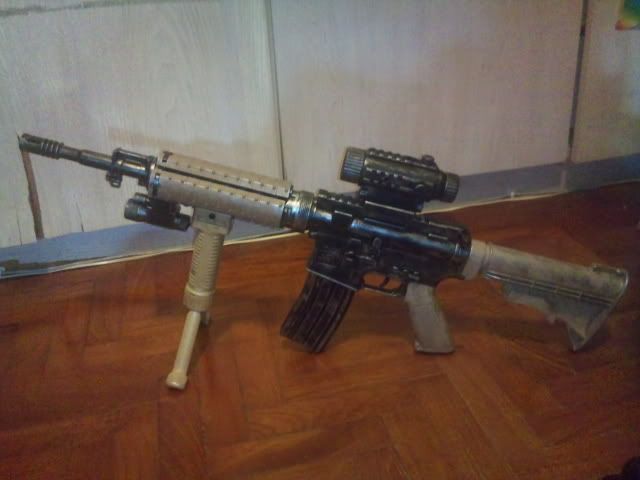
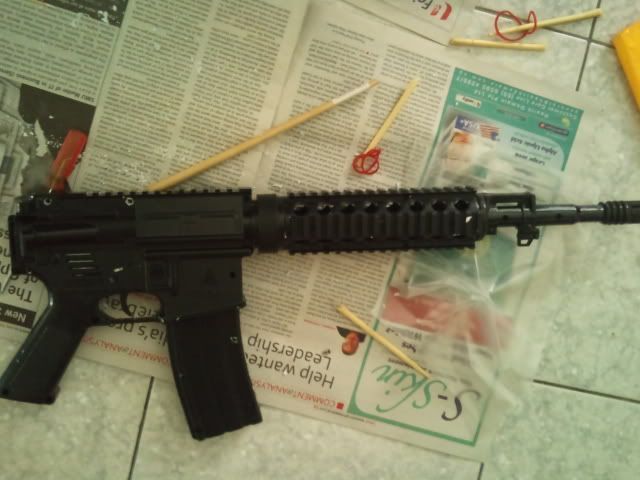
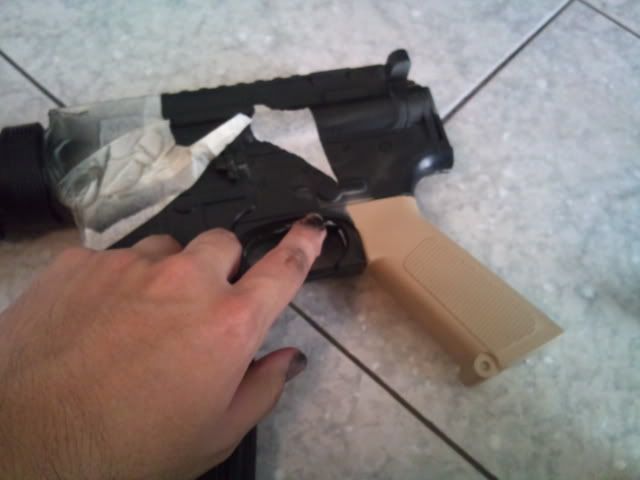
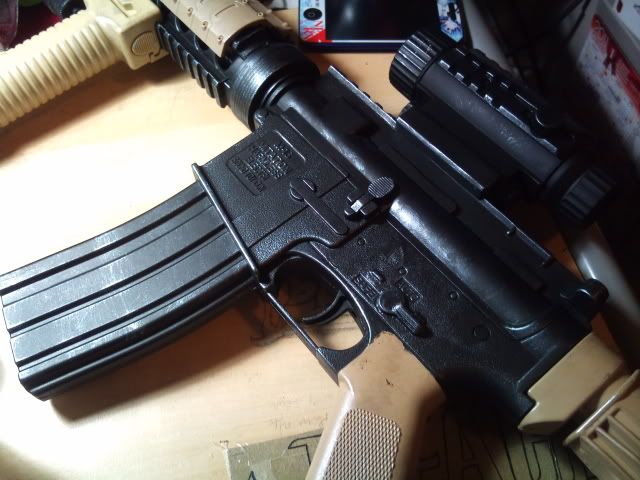
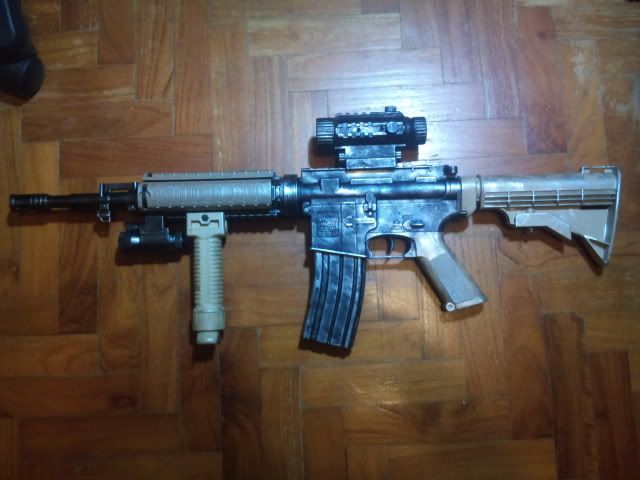
Finished product! i did more touch ups with the dry brushing. :)
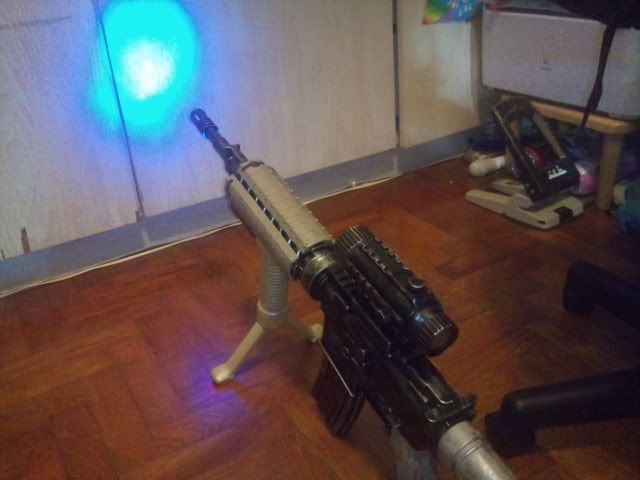
sorta fully functional! of course it doesnt shoot real bullets. not even pellets. although i might try creating a system or adopting one for my future projects. :) up the difficulty of such replicas! wohoo!
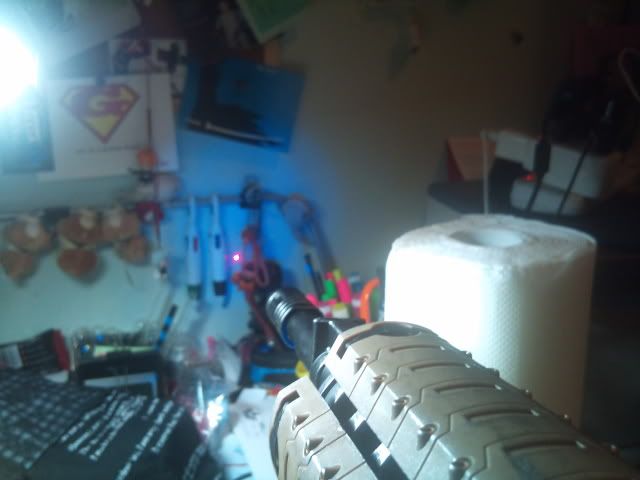
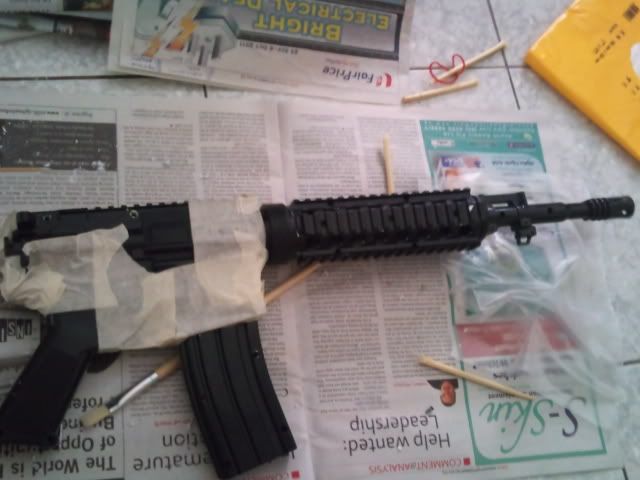
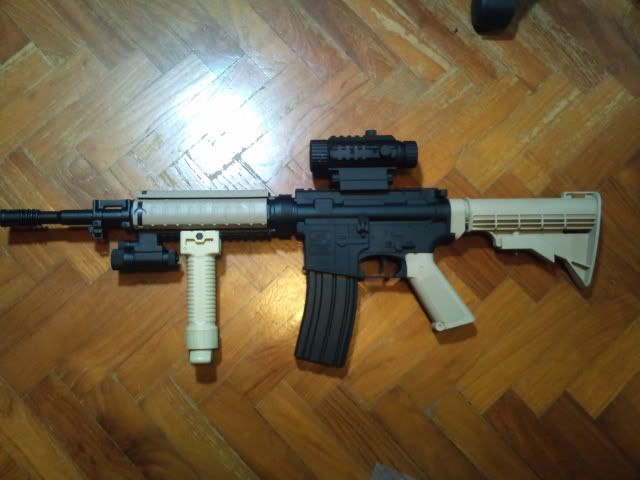
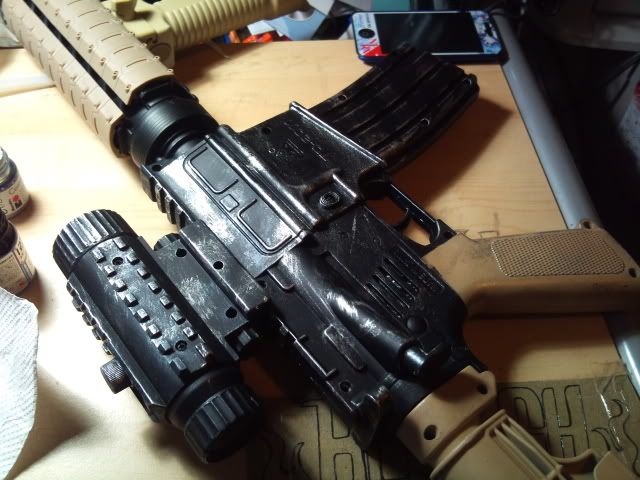
this is a close up of the laser mounted on the underneath of the barrel, i covered 3 of the front railings with the armadillo rail panel, they came in desert colour. also bought from black tactical. they have the best stuffs there for this! :D
finished product!!
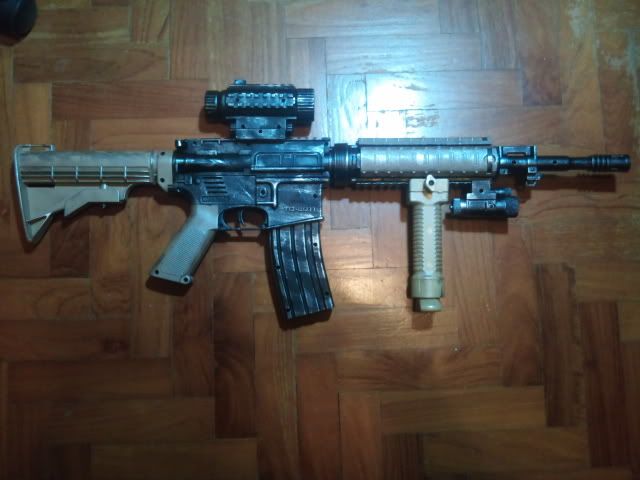
oh yeah. there are 2 versions of the m4, one is the SIR while the other is the RIS. the SIR version is for CQB style, usually used in Iraq and Afghanistan. it has a shorter barrel, larger grip around the barrel. which is totally not like the HK416. I bought the RIS instead, because it has a thinner barrel grip area. oh God what the hell do you call that component! the RIS looks pretty much the same as the HK416, the shape is almost the same, all i had to do was to tweak the front sights a lil to model it after the front of a HK. it was pretty easy. :)
this replica was very easy to model, the tougher part is the...i dont know. zzz. the whole process was just about 5 hours long? pretty familiar with these already, so its fast. It was fun! i really loved the end product, very happy with the weight of the gun, although i didnt hit 2.950. i think i hit about 2kg+++ liked the weathering, mum just said wow! how did you do that! might do another 2 when i have the time after the As! it was tiring on my legs though, all the running around and kneeling around to paint all the stuffs. i did have enough time to complete it! it is a joy to finally see my imagination come to reality, never thought of making a HK lookalike. (although i still think it kinda fails) quite some bit of planning went into this before hand due to the tight budget that i had! those assesories costs a bomb alright. thing is everything looks pretty affordable for a start. when you price all of them together, you see the big bomb. now i have lots of spare paint/materials and tools to use for the rest of my models! hehehe.


