x
x
x
x
|
Proud to be a child of God, a faithful son (I hope lol) a trying to be hardworking student, a part-time worker, a nerf/milsim enthusiast, a crafting and music lover and an awesome friend. to you :) Hope you have an enjoyable time reading about my life, as much as I have fun living it! |
Minimalist
I am a university student who loves chocolate! Coffee is my best buddy when it comes to taking on my finals. I have a tendency to want to try and do so many different things at once and as a result, I've found my hobbies to be as such!
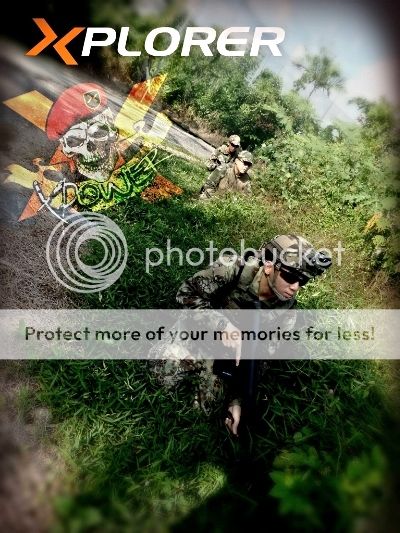
Nerfing is one of them, but aside from that, I also love arts and craft. I have my own startup, Thumbforlego at: where I sell my works! 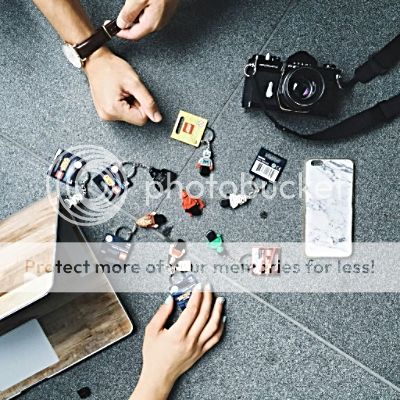
I love to do all sorts of crafting, so you will see me uploading posts of my leathercrafts, thumbdrives, replica guns, nerf gun modifications and gundam models! I'm fortunate enough to be blessed by really supportive parents and given the chance to explore many, many parts of the world and try out a plethora of activities. This is also how I discovered my love for film photography, videography and piano. 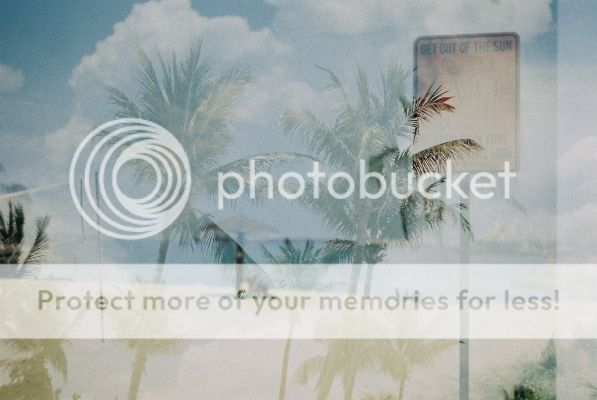
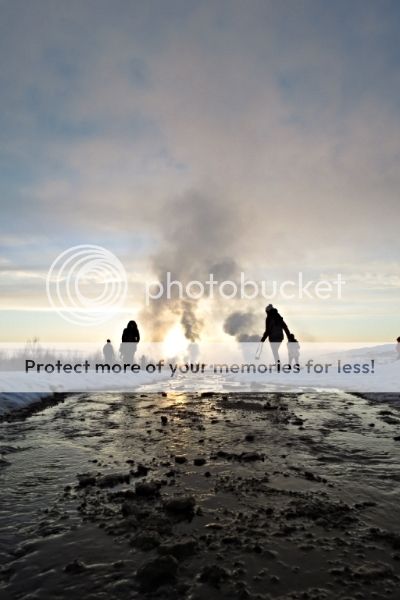
The film photo above is unedited! My family loves cold countries xD. We managed to catch the northern lights twice! 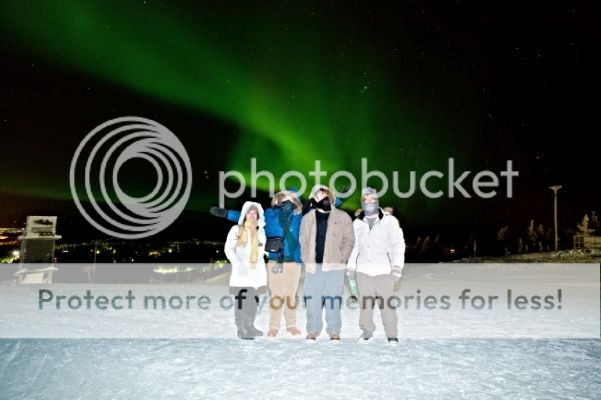

I've also gotten the chance to experience many of nature's wonders 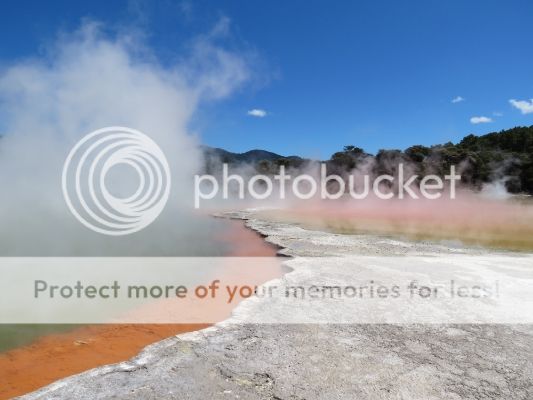
And my most freezing experience to date: riding a husky ski sled into the sunset (It was -38 to -40 degrees celsius and the huskies were pretty fast.) 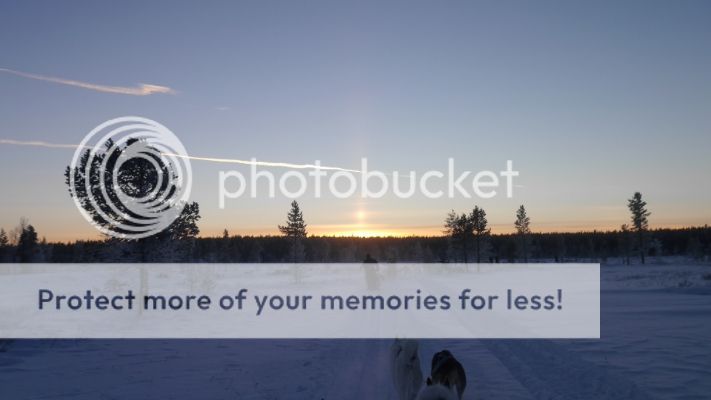
Leave a message after the tone
Why 36000feetabove? This is the altitude that commercial planes cruise at and I have always loved the view up in the sky, being amongst the sea of clouds. :) Personally, my favourite favourite food has got to be airplane buns! Does anyone else feel the same way?! With a slice of butter and looking out of the window, I have yet to find an experience that can beat that. 
After tomorrow, before today
Recent posts:
Monthly 411:
Tuesday, November 19, 2013
WOW thats a pretty long title huh!! well i've mentioned it a couple of times in camp and on my blog, so here is the post finally! Building these 2 model kits have been of great joy to me! Eternal being one that had me doing a weathered paintjob, although technically it can't really be "weathered" since its a space-only ship. and Valvrave 1 was a really fun build due to the difference of model kit from the conventional gundam models and also because i don't need to paint it! :D Painting is really quite a chore, but it also allows the model to seem a whole lot cooler! really, if you have any old item or whatsoever, if you give it a paintjob, it will look just as good as new! on a sidenote, pffft i just came back from outfield, and got bitten TWICE on my butt. Thank you commando mosquitoes. TWICE. really. sigh! painting model kits can actually get kinda complex and time consuming, as some parts need to be painted first before being fitted together. As such, this gives rise to lots of 'retarding' factors! Despite being relatively very patient, the feeling of me being able to see the completed model kit may cause myself to rush through the painting at times! hence with metallic ver, the kit doesn't need to be painted. but then again, it's not all just yays, i will cover one of the major nays of such.Hmm let's start off with Valvrave Metallic ver shall we? :) DUE TO THE VOLUME OF THIS BLOG POST, I'M LEAVING THE ETERNAL TO THE SUBSEQUENT ONE. so recently i went to AFA 2013, and low and behold, this is the event special kit!! being priced at a whopping $95, i had to really really consider if i wanted it as then, i would use up about half of my personal budget, after having set aside the amount i intend to sow into building fund. Though now when i think of it, my building fund amount is actually impossible to fufill D': i'm gonna need a miracle! Thank God that when my dad found out that i spent such a huge bomb on this REALLY limited edition kit, (wow i seem to use really pretty often eh) he decided to sponsor me $70! wohoo! (y) This is how the original Valvrave 1 looks like in the anime.  And the model kit, take note it's metallic finish, so it looks WAY more shiny than usual.  Sorry for the lousy photo, i will probably try and get a few more good shots of this kit before it tries to find a slot on my already filled up display shelf! One of the YAYs for this model kit was the really nice metallic finish that they had! moreover, in case you are worried about panel linings, just look at the silver lines, making it look all so much more machine! sorry for the bad quality photos, they were taken under VERY bad lighting! my bad :/ I immediately fell in love with the metallic black, what happened is that they spray on a later of chrome silver first, and then a more transparent black over, giving that really nice look, along with those cool silver panel linings standing out because the spray paint cant reach into those gaps! Another plus factor about this kit is all those transparent green plastic that you get!! These plates are really huge! :D and on the model kit, after they are all fixed up, it looks so awesome alright! The clear plastic plate under just shows you all the effect parts that come with this kit, which is a really cool gimmick, i was really impressed when they gave us those effect parts, because they are not present for gundam model kits, unless you get a special version or a pre-order special, then probably.  Because the whole model kit is VERY red, white stickers are a must! but this amount of white stickers...they are kinda of an overkill huh? true enough, i didnt apply all of the stickers, especially the red ones with the emblems on, because that red is a different tone. can you imagine you stick that squarish sticker onto the headpiece? how ugly it would look? Whereas IF the red stickers are like the ones below, which covers up the entire part, then yes it blends! in fact, i gladly applied these stickers, without considering on whether to cut off the red stickers and leave the white outline. having enlarged the photo, you can really see the difference between the metallic red and sticker red! At least the sticker red is reflective too, so it doesn't matt that area. out of the five parts you see there, 2 of it are pasted with FULL red stickers, the other 2 have just the white outline, and the last piece, no sticker. That's why i chose to take photo of this part, because it has all 3 'kinds'! That's the shoulderplate btw. One of the nays that put me off was the difference in paint jobs. Here, i present to you the two identical parts for both arms. It's the shoulder joint to be exact. here, you can see the start difference in terms of the coats of paint used, the top piece has a much thicker and better finish, whilst the bottom piece feels kinda half-past-six to me, although it had that equally smooth finishing as its counterpart. SOME USEFUL TIPS WHEN BUILDING THIS KIT #1. I didn't use up all of the white outline stickers. Reason being, there is really an overkill of lining at certain areas such as the side skirts for this model kit. This is also where the katana sheaths are attached unto. Instead of having the lining all around the side skirts, as in surrounding the skirts, i went for only the bottom portion of the skirts, hence the effect pulls off a whole lot better! This way, you don't get things too 'boxed up' for certain areas. Instead, you achieve a much cooler effect xD note, i went for the BOTTOM linings only. Rather than playing this effect throughout the model kits, i had some areas having the full linings so as to offer some variations. of course let it be symmetrical. -.- #2 Change the flair of the wings. If you notice the first photo of the model kit, the green wings are in an open-swept manner, as in the top wings flair upwards, while the bottom wings flair downwards. In my opinion, this looked pretty dull, since both wings go downwards, giving it a toned-down feel. I wanted something more 'explosive'. The model kit instructions had the wings made in such a way that ALL the wings would flair downwards, like the bottom wing in the photo below. What i did was to simply use the green part for the top wings, swap them around for the left and right wings, WHILE using the original parts for the wing joint or whatever you call it. The other half, black portion of the wing. This means that you follow the instructions on fixing and ONLY swap the green part for both top wings. DO NOT swap the entire wing. The focus is on the wing, that's why the model is out of focus. Now the kit has more flair! :D Looks more dominating now! I leave you with some photos of my completed Valrave 1 Metallic Ver! and a whole lot of rubbish/messy backdrop!  
|
