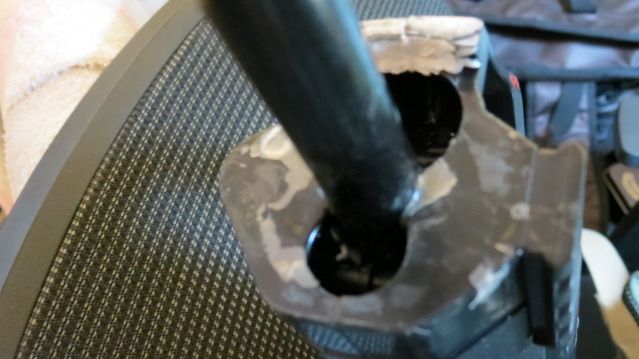
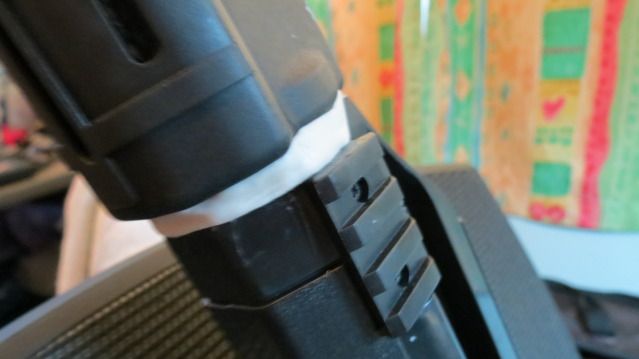
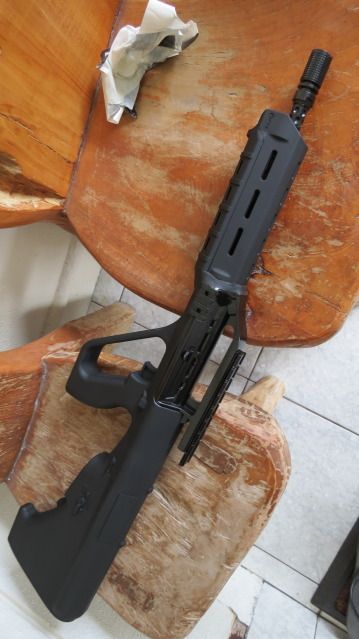
here is the damage! when i came back from camp one day..zzz didnt expect this at all, plus the epoxy glue is really strong! first time happening to me..so...i whipped out an even stronger bonding agent! thats...the EPOXY PUTTY! i had to use it sooner or later anyway.
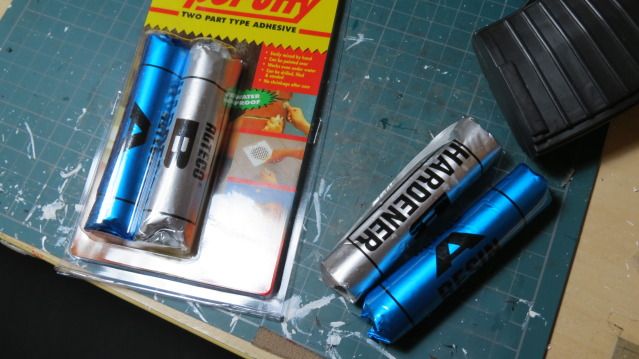
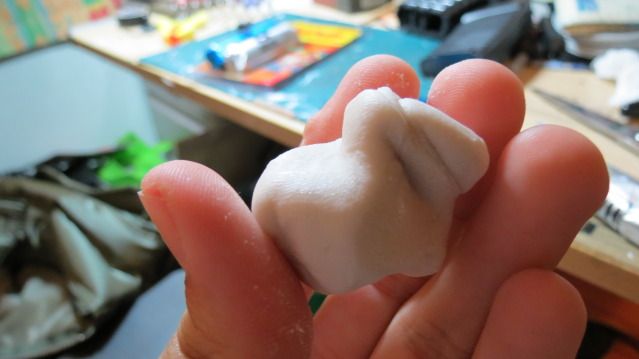
mix them together till your hand hurts and you know your putty is aaaaall ready to go!
step 1: put up some bulk of putty on the part. (y)
step 2: attach the piece! and push it in real hard! make sure that putty hugs the whole thing.
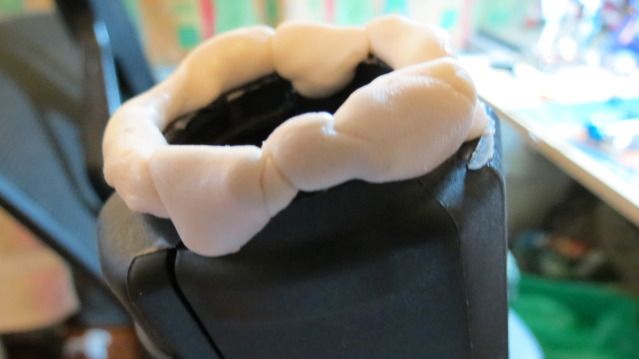
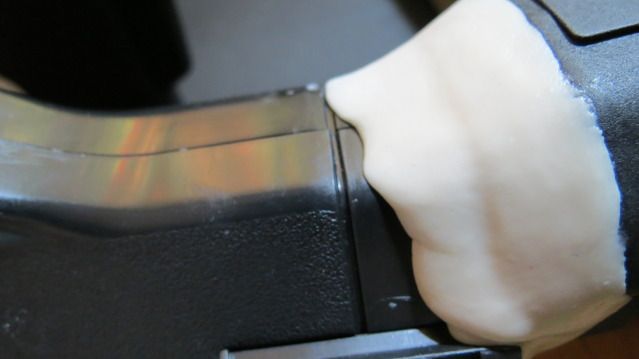
this is a close up, i added even more putty to give it shape so as to resemble the actual sar21 more. :) so...gotta spread those epoxy putty and create a gradual gradient! this was fun!
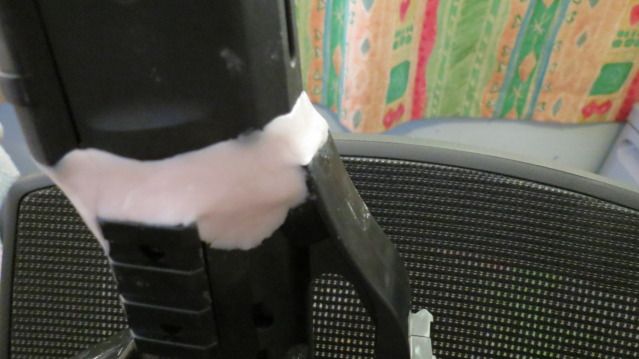
another close up when the whole moulding process is done!
TIME TO PAINT.
1. Matt black for the whole shell!
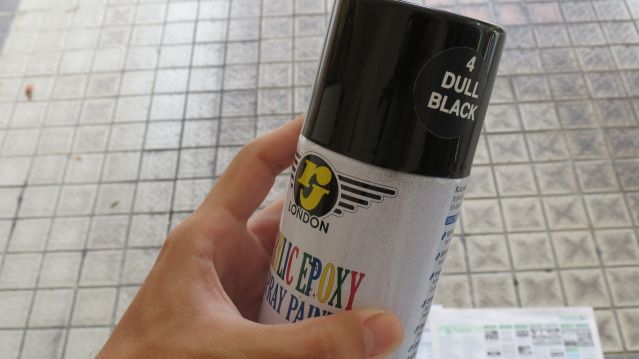
below is the paint that i always use.
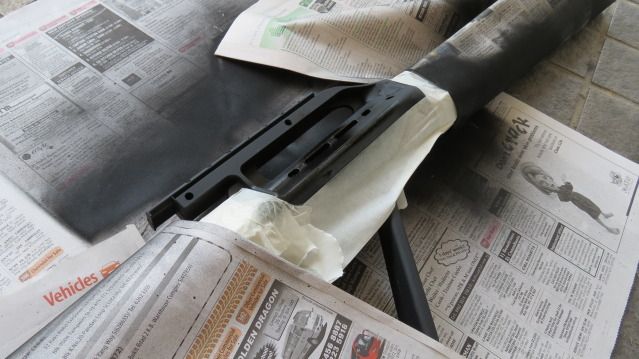
2. use masking tape to mask off parts that you wanna paint metallic black! *remember not all parts of the rifle is plastic*
you can tell the stark difference the metallicspray has compared to the matt areas.

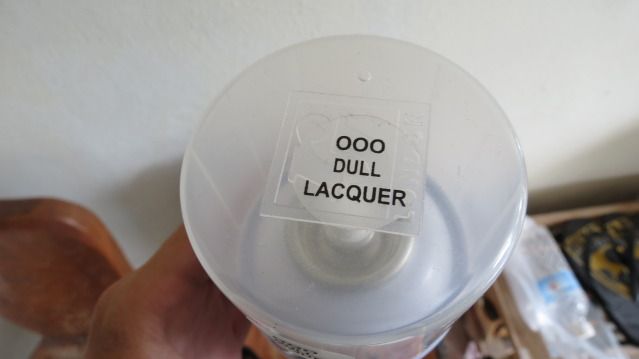
when everything is done for spraying, its time to take off all the masking tapes and covers and spray a layer of lacquer over the whole thing so as to add a protective layer over the paint. this also helps to even out the paint, so it greatly improves the whole feel of the replica rifle! without lacquer, the feeling of the rifle sucks. seriously. -.-
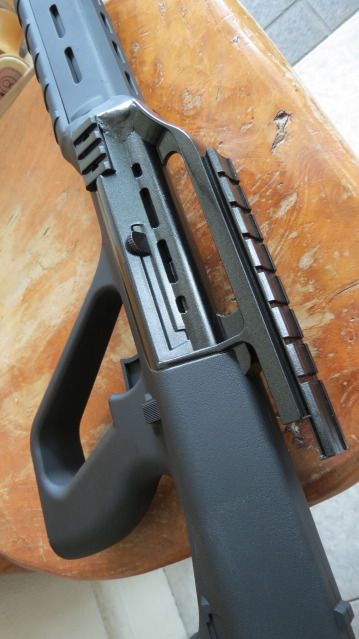
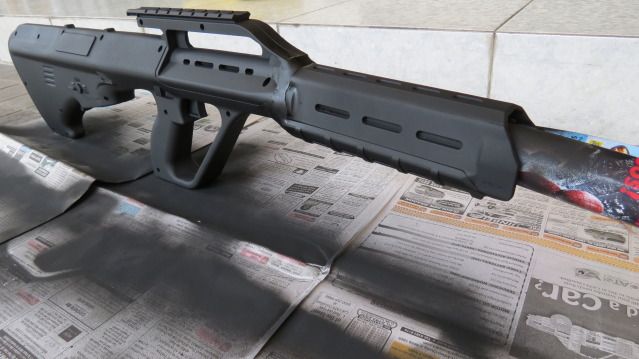
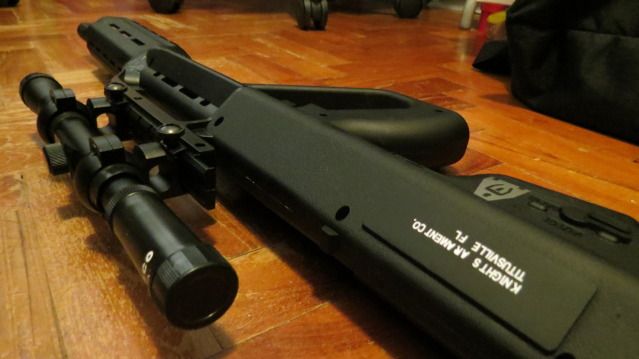
this is the end result after everything is done!
just some photos of the end product, after about 3 weekends of work :)


